


DIY Holiday Lanterns
Create lovely lanterns to display throughout the inside and outside of your home during the holidays. Holiday lanterns will add ambiance and charm to any room they are displayed in. If you have a covered porch, line your stairs or walkway with homemade lanterns to warmly welcome guests to your home during the holidays.
The following DIY holiday lanterns can be made with items you already have in your home.
Soda Can Holiday Lantern Supplies:
• Craft knife
• Gold paint
• Ruler
• Glue gun and glue sticks
• Soda can
• Holiday ribbon
• Pine cones
• LED light
• Scissors
• Masking tape
• Sandpaper
Directions:
1. Wash and dry your can. Wrap a piece of masking tape around approximately one inch of the top and bottom of your can.
2. Make marks that are one inch apart around the top and bottom of your masking tape pieces. Use your ruler to make your marks so that they are perfectly matched. This step will help you make straight cuts up and down the sides of your can.
3. Line your ruler with the first mark at the top and bottom of your can. Carefully run your knife from mark to mark. Using your ruler on each line you're cutting will help guide you in making them straight and even. Make sure to stop cutting when you reach your masking tape borders. Repeat this step around until the slits are completely cut around your can.
4. Gently push down on the top of the can until the sides pop out and form a lantern shape. The can edges can be sharp, so you may want to run a piece of sandpaper up and down the sides of the strips to dull them.
5. Place your lantern on a covered work area. In a well ventilated room, spray paint your lantern gold or any holiday color that matches your decor. Let dry, repeat.
6. Glue a piece of holiday ribbon and pine cones to the top of your can lantern. 6. Place your LED light inside.
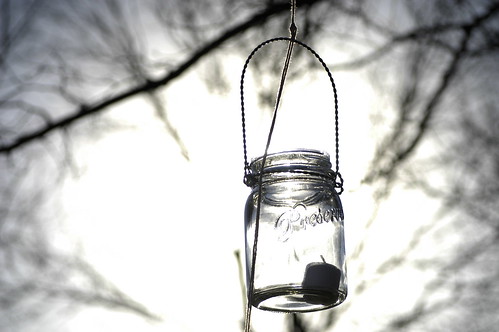
Ornament Lantern Supplies:
• Mason jar
• Small ornaments
• String of battery operated lights
• Holiday ribbon
• Scissors
Directions:
1. Wash and dry your mason jar. You could also recycle glass condiment jars to make your holiday ornament lantern.
2. Place the lights inside the jar. Make sure when you wrap your lights inside the jar the switch end of the light ends up at the top for easy access.
3. Evenly place your ornaments throughout the lights in your jar. You could also mix your ornaments with pine cones and berries for added beauty.
4. Glue a holiday bow on the top of the lid. If you place these jars outside, decorate them with waterproof ribbon and embellishments.
If you need a secret Santa gift or a small present to thank someone who has done a lot for you throughout the year, these DIY holiday lanterns would be great options.
A special thanks to Loren Stacks for writing this piece for Mommys Craft Obsession.


No comments:
Post a Comment
Thank you for being a reader of Mommy's Obsessions! We love to hear your feedback and enjoy reading your comments! We do take the time to read though the comments so if you have any questions feel free to ask and we will try to get back to you in a timely matter!
Mommy's Obsessions does not tolerate spam comments and they will be deleted immediately.